


In our previous post we finished off a lot of styling and making the blog look like something.
At the end I mentioned going over adding a "back-to-top" button and contact modal. We may discuss some options for that in the near future, but today we're going to focus on the simple task of deploying the site to Netlify so we can officially say we deployed a live site for visitors to view. While I don't want to detract from the learning that can come from those options, it's also not my intention to keep this blog in this simple HTML/CSS format. Very soon we'll make the change to a Gatsby.JS site build, which is an open source framework that builds performance into every site with React and GraphQL. Of course, to get there, we'll have to gain at least a basic understanding of both React and GraphQL. You could wing it, but I'd love to dive in to some of this just to make our lives easier when we get there. GraphQL is amazing for querying posts and even auto-generating navigation bars, images etc, and Gatsby offers amazing performance all around.
As I want Developer Overload to encompass a wide variety of topics, projects, challenges etc. I feel confident in using a build that leverages React and GraphQL.
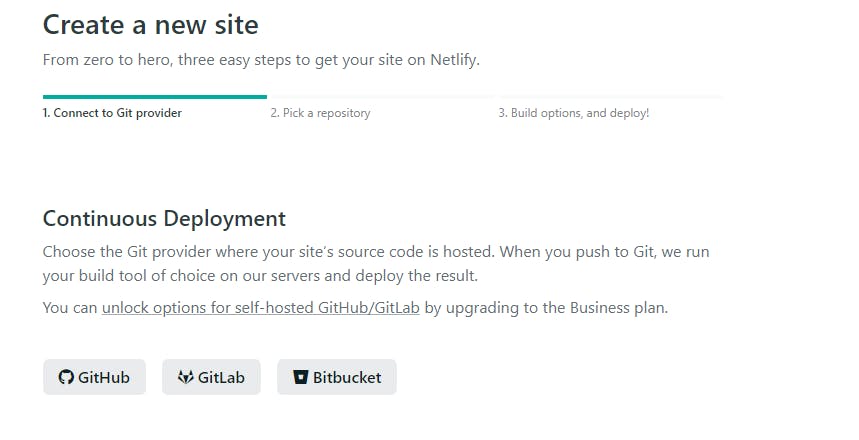
Anyway, I digress. Deploying to Netlify is simple. If you haven't already created an account, go over to their signup page. There are a few options here, the easiest being to use your GitHub account, as it will need to be connected to deploy our site.
Now that you're in, go ahead and select "New site from Git"

This will let you select your Git provider (GitHub for us.)
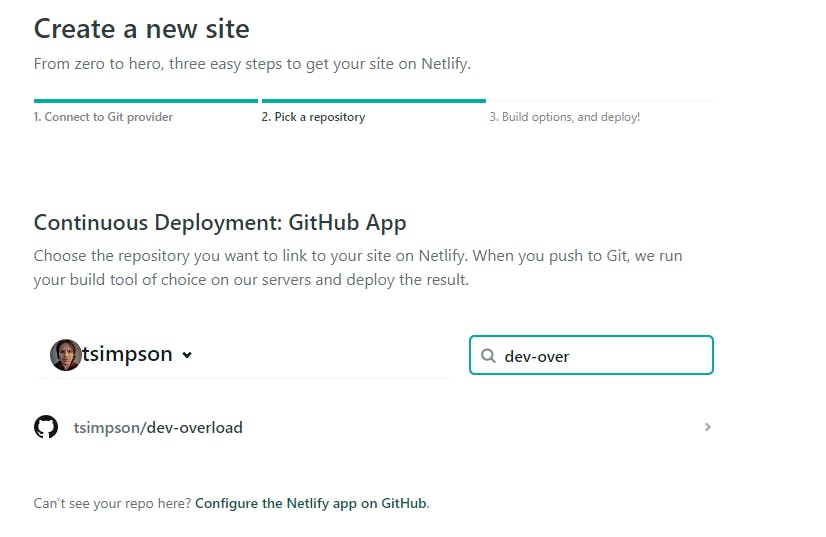
Search for the repo you want to deploy, in my case "dev-overload".
Now we can customize deploy settings, but for our case the defaults will be fine:
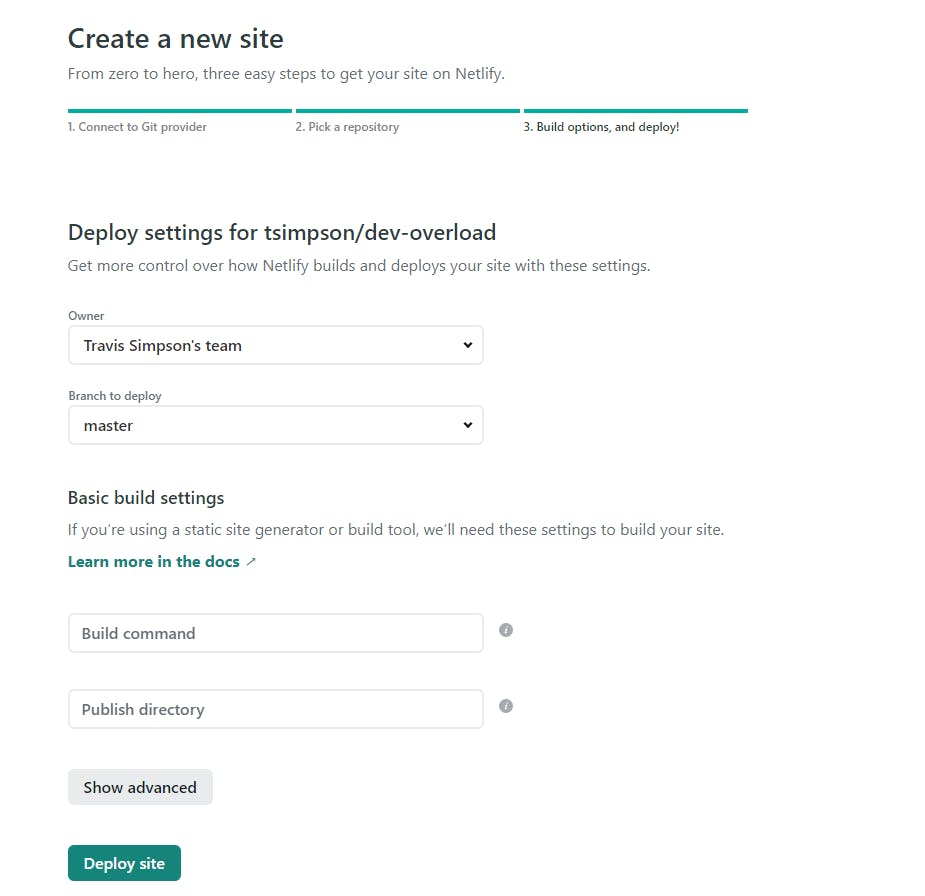
Go ahead and Deploy Site and let the build process run. It's one page of HTML/CSS, so it shouldn't take long!
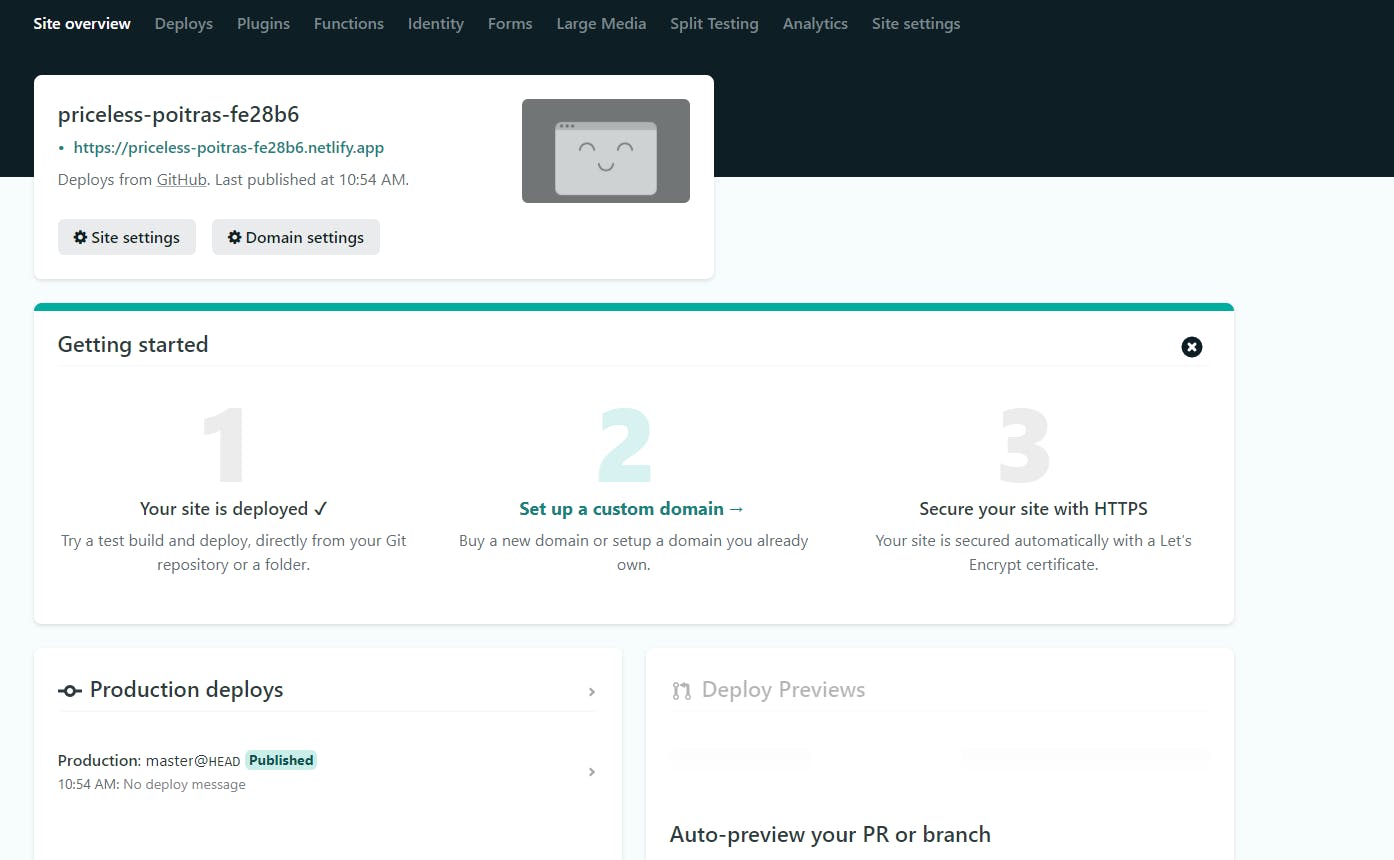
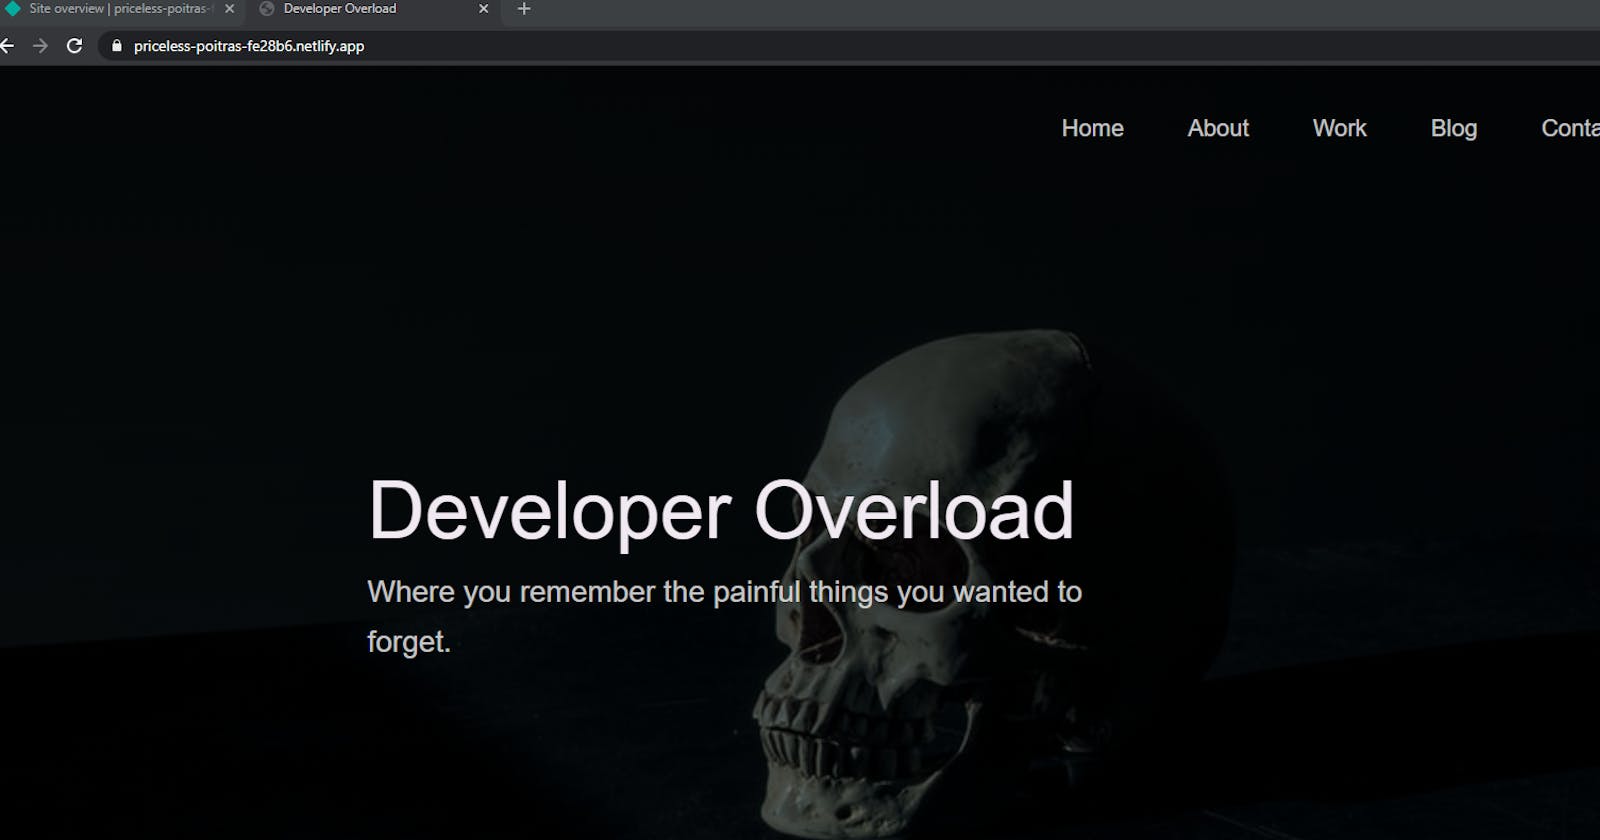
From here you can now set up your custom domain, secure your site with HTTPS (please do this when you set up your domain.) Any changes you make and push to GitHub will be automagically deployed to Netlify. And here is our new, live demo site!

Scroll through your site, play around with it and ensure everything is in working order. It's not uncommon for a small bug or 20 to show up between local and live sites.
And now we will conclude our "Build a Blog" series here. There may be a handful of one-off posts making adjustments to the basic site as we dive in to JavaScript, React and more!